You can set the default, add more tab stops, align them as you please, and even include a leading line. To set up tab stops in Word, here’s what you’ll need to do.
Work With Tab Stops in Word
To use and configure tab stops, you’ll need to head to a specific area in Microsoft Word. First, open Microsoft Word and select the Home tab. Then, click the arrow icon on the bottom-right of the Paragraph section of the ribbon to open the Paragraph Settings.
In the Paragraph pop-up window, click Tabs on the bottom left.
If you’re using Word on Mac, click Format > Tabs from the menu bar instead.
Once you open the settings menu for Tabs, you can make your adjustments.
Change the Default Tab Stop
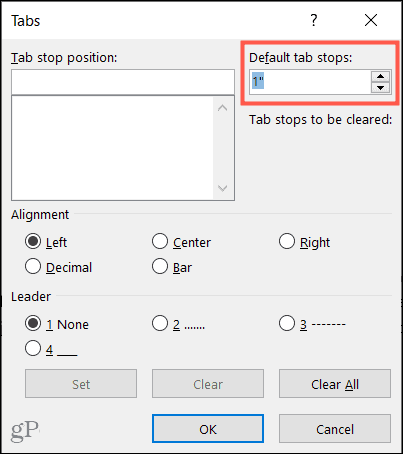
By default, Word sets each tab stop at 0.5 inches. So, each time you hit the Tab key, you’ll jump ahead by that distance. If you’d prefer shorter or larger stops, however, you can change this. Enter a measurement on the top-right section of the Tabs window, or use the arrows to set the Default tab stops value (in inches). Click OK to save your choice.
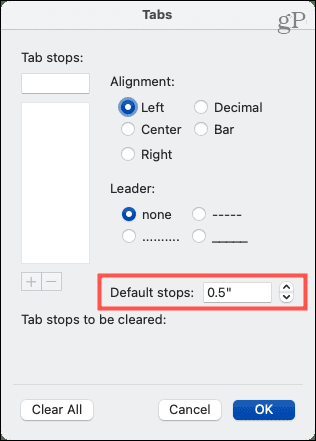
On Mac, you’ll see the Default stops section further down on the right side.
Set Additional Tab Stops
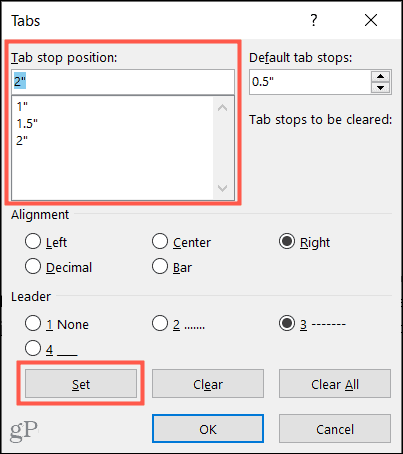
If you prefer to leave the default tab stops measurement as-is, you can set up additional tab stops to accommodate your needs. Enter a measurement in the Tab stop position box at the top of the window. You can then choose the Alignment and a Leader if you like. The Alignment options include left, center, right, decimal, and bar. The Leader options include a dotted line, dashed line, or underline. Click Set. Then, you can set up more tab stops simultaneously if you like. When you finish, click OK.
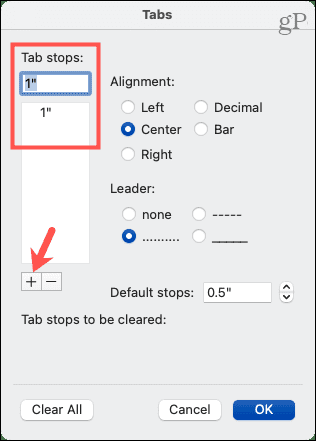
On Mac, enter the measurement in the Tab stops box at the top, choose the Alignment and Leader, and click the plus sign. You can then add more or click OK to finish.
Clear Tab Stops in Word
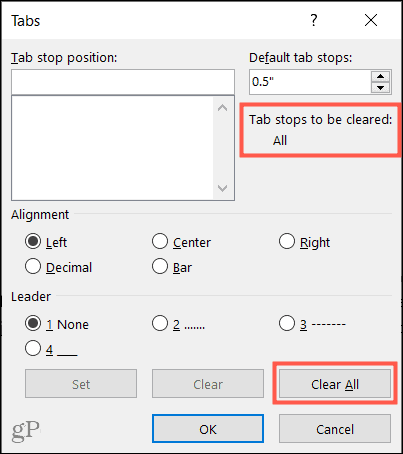
After creating your tab stops, you may decide you don’t need one or two. Select the tab stop in the list on the left side and click Clear. You’ll see the one you want to remove below Tab stops to be cleared. If it’s correct, click OK.
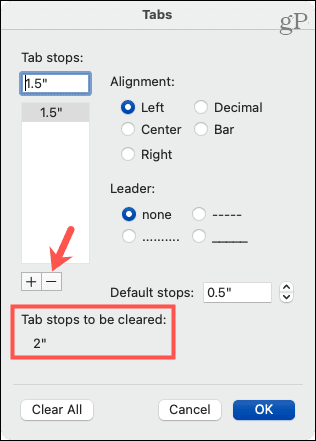
On Mac, select the tab stop in the list and click the minus sign. Confirm your selection and click OK.
To remove all tab stops on either Windows or Mac, click Clear All and then OK.
Use Tabs in Word the Way You Want
You don’t have to feel stuck with the default tab stop in Microsoft Word. Not only can you change that default, but set tab stops in Word that suits your own requirements. For more, take a look at how to use the ruler in Word or how to double space your Word document. To keep up with new tutorials, follow us on Twitter or like us on Facebook! Comment Name * Email *
Δ Save my name and email and send me emails as new comments are made to this post.


![]()
