Scan and Mark up Documents with iOS 11 Notes
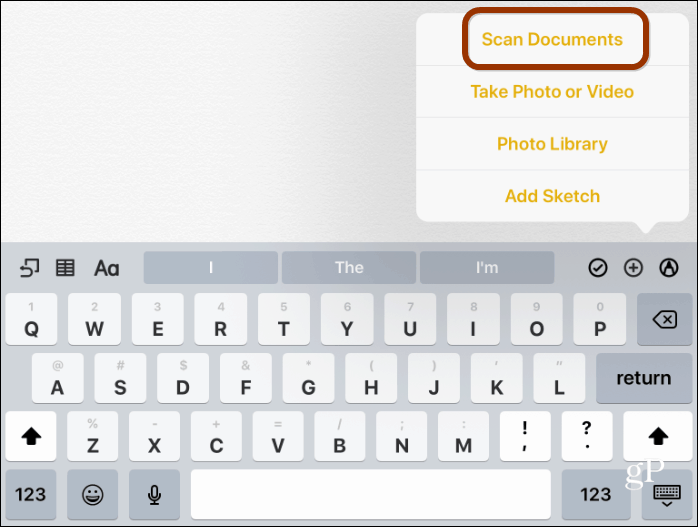
Here I am using the Notes app on an iPad running iOS 11, but the process is virtually the same with iPhone. Launch the Notes app and create a new note. Then tap the plus (+) symbol just above the keyboard and choose Scan Document from the list.
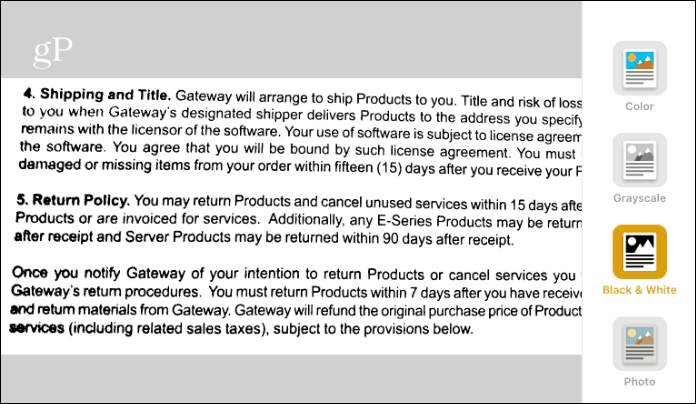
Then line up the document you want to scan and when you’re ready, hit the shutter button to take the shot. It will try to take the shot automatically, but I found best results by setting it to manual. Here you can choose between the type of shot you want — Color, Grayscale, Black & White, or Photo (you can adjust this after the fact, too).
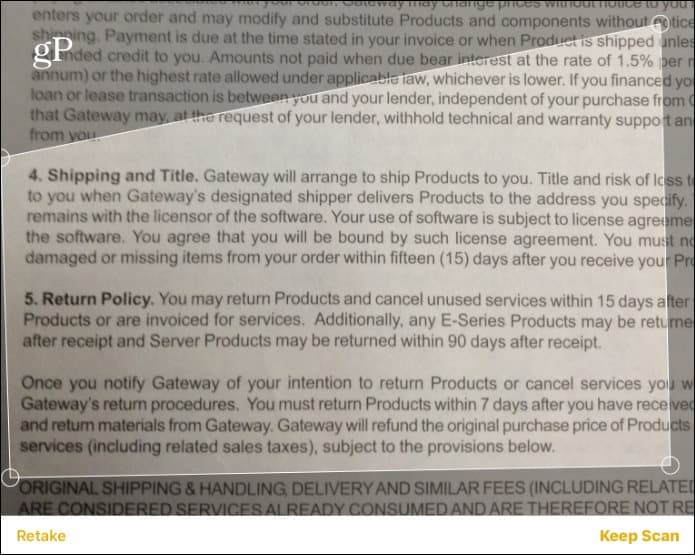
Once you take the shot, you have the option to crop out a specific section of the document. When you’re done tap “Keep Scan” or “Retake” to try it again.
Once you have your document scanned, then you can make changes to it. For example, you can change the capture settings and see the differences. I found that the Black & White setting enhances the contrast and creates a clean version of the document.
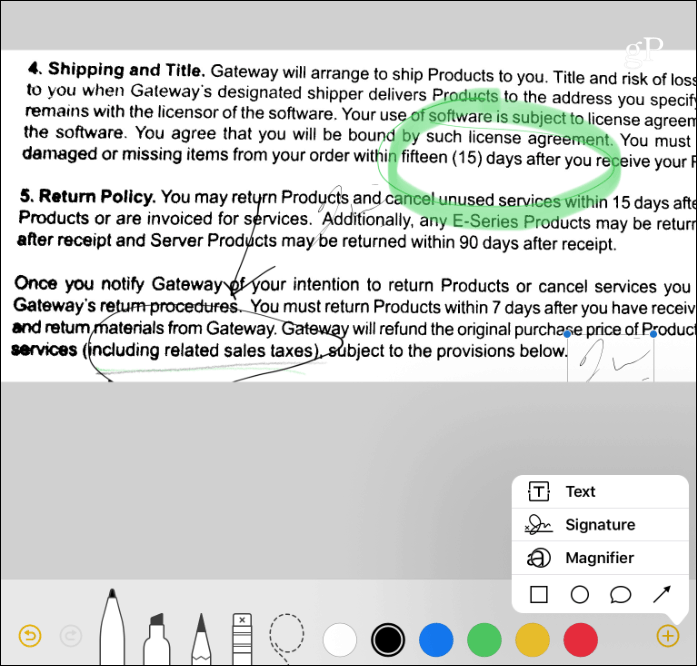
Then you can start to markup the document, save it to PDF, or share it. Tap the share button and there you have different options of using markup tools and saving it to PDF. Another cool tool is the ability to add your signature to a document.
There is a good selection of third-party apps for scanning documents, we have covered them before. But it’s good to know that you don’t need to install anything extra. When you’re in a situation where you need to digitize a document like a contract, receipt, or maybe a business card, the Notes app has just the right number of tools to get it done. Give it a try and let us know what you think. If you prefer another third-party app for scanning documents with your iPhone leave a comment below and tell us what it is. Comment Name * Email *
Δ Save my name and email and send me emails as new comments are made to this post.
![]()


