Step 1 (Optional) – Creating a New Library
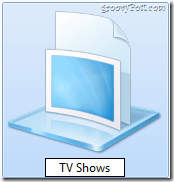
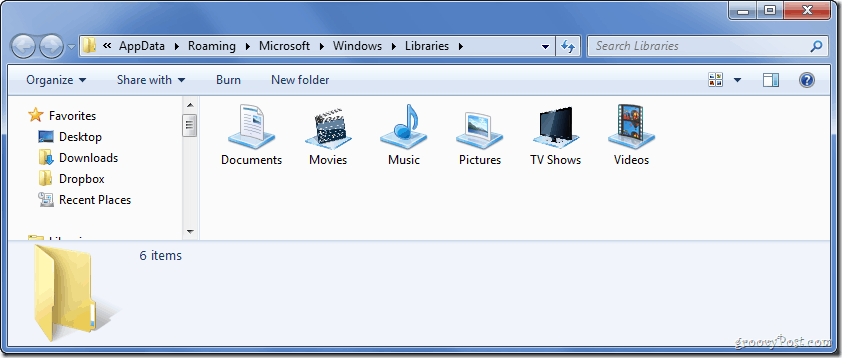
Although this works on the libraries built into windows too, you may want to create your own library, since the icons on the built-in libraries are pretty cool. Start off by opening Libraries.
Now right-click and pick New > Library.
Name your library whatever you want and press Enter.
Step 2 – Finding an Appropriate Icon
Now you need to find an appropriate icon for your library. You can just Google yourself one like a few below…
…or you can get creative and make one yourself (just like I did).
Step 3 – Locating the .library-ms Configuration Files
We now need to open the explorer to locate the location of the .library-ms files that contain the information about the libraries, library contents and the icons to them. Open up Explorer and navigate to: where instead of “[Your Username]” you put, well, your username! :D
Step 4 – Opening the .library-ms File in Notepad
Now open the Start Menu type Notepad and hit Enter to open up Notepad.
Now simply drag the .library-ms file with a filename according to the one you gave your new library earlier into Notepad.
Step 5 – Making the Necessary Modifications
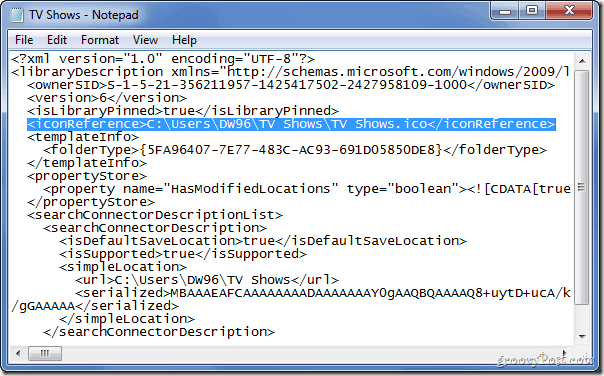
Now you will need to add an
In between the ><’s you will need to add the location of the .ico file we prepared at step 2.
As the grand finally, press Ctrl+S to save the file, and then close Notepad.
Done!
You can now open up Libraries again and take a look at what you’ve achieved!
Comment Name * Email *
Δ Save my name and email and send me emails as new comments are made to this post.
![]()
![]()


![]()


